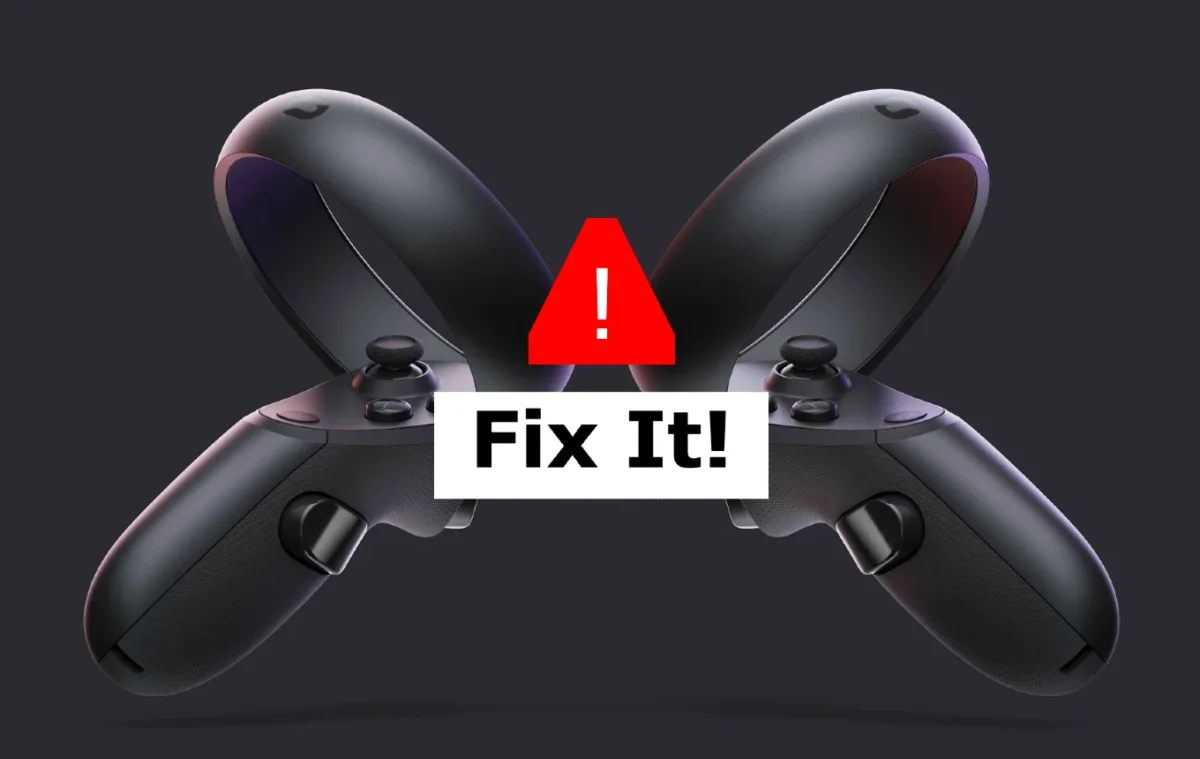
As a VR enthusiast, I have experienced my fair share of frustration when my Oculus controller suddenly stops working. Whether it’s the joystick not responding or the oculus controller not working or tracking properly, these issues can ruin an otherwise immersive VR experience. Over time, I have learned some effective techniques for resolving these issues and getting back to my VR adventures.
Table of Contents

Troubleshooting Oculus Controller Not Working
Before diving into solutions, it’s important to understand how to troubleshoot Oculus controller issues. The first step is to check the battery level and replace the batteries if they are low. Next, check that the controller is properly paired with your Oculus headset. If the controller is paired but still not working, try restarting your headset and controller. Troubleshooting guide is also available on meta site.
Cleaning the Oculus Controller
If the controller is still not working after troubleshooting, the issue may be related to dirt or debris interfering with the sensors. To clean the controller, use a microfiber cloth to gently wipe the sensors on the controller. Avoid using any cleaning agents or water, as this can damage the controller.
Recalibrating the Oculus Controller
If cleaning the controller does not resolve the issue, you may need to recalibrate the controller. To do this, go to the “Devices” section of your Oculus settings and select “Configure Controller.” Follow the on-screen instructions to recalibrate the controller. This should resolve any issues with the controller’s tracking or sensitivity.
Updating Oculus Software and Firmware
If the above solutions do not work, the issue may be related to outdated software or firmware. To update your Oculus software and firmware, go to the “Settings” section of your Oculus app and select “Devices.” From there, select “Update Firmware” and follow the on-screen instructions. This should resolve any issues related to outdated software or firmware.
- How to delete apps | iPhone | android | mac | chromebook | apple watch
- How to get VPN on laptop in Windows or ChromeOS or macOS?
- How to Screenshot on Chromebook? Detailed Guide
- How To Get macOS UI on Windows Laptop?
- How To Clean Macbook Screen and Keyboard at Home?
Factory Resetting the Oculus Headset
If all else fails, you may need to factory reset your Oculus headset. This should only be done as a last resort, as it will erase all data and settings on your headset. To factory reset your headset;
| Step | Action |
|---|---|
| 1 | Open the Oculus app on your device. |
| 2 | Go to the “Settings” section of the app. |
| 3 | Select the “Devices” option. |
| 4 | Choose the Oculus headset you want to reset. |
| 5 | Click on “Factory Reset” option. |
| 6 | Confirm that you want to erase all data and settings on your headset. |
| 7 | Follow the on-screen instructions to complete the factory reset process. |
Conclusion
Oculus controller issues can be frustrating, but there are several effective solutions to resolve them. By troubleshooting the controller and checking the battery level and pairing, you may be able to quickly resolve the issue. There is troubleshooting guide given on meta site as well if you want to try it. If the issue is related to dirt or debris, cleaning the controller may be effective. Recalibrating the controller or updating the Oculus software and firmware may also resolve the issue. If all else fails, factory resetting the Oculus headset should be considered. By taking these steps, you can get back to your VR adventures with a working Oculus controller.
FAQs:
What should I do if my Oculus controller is not working?
Start by troubleshooting the controller, checking the battery level and pairing, and cleaning the controller.
How do I recalibrate my Oculus controller?
Go to the “Devices” section of your Oculus settings and select “Configure Controller.” Follow the on-screen instructions to recalibrate the controller.
Should I factory reset my Oculus headset if my controller is not working?
Factory resetting should only be done as a last resort, as it will erase all data and settings on your headset.


